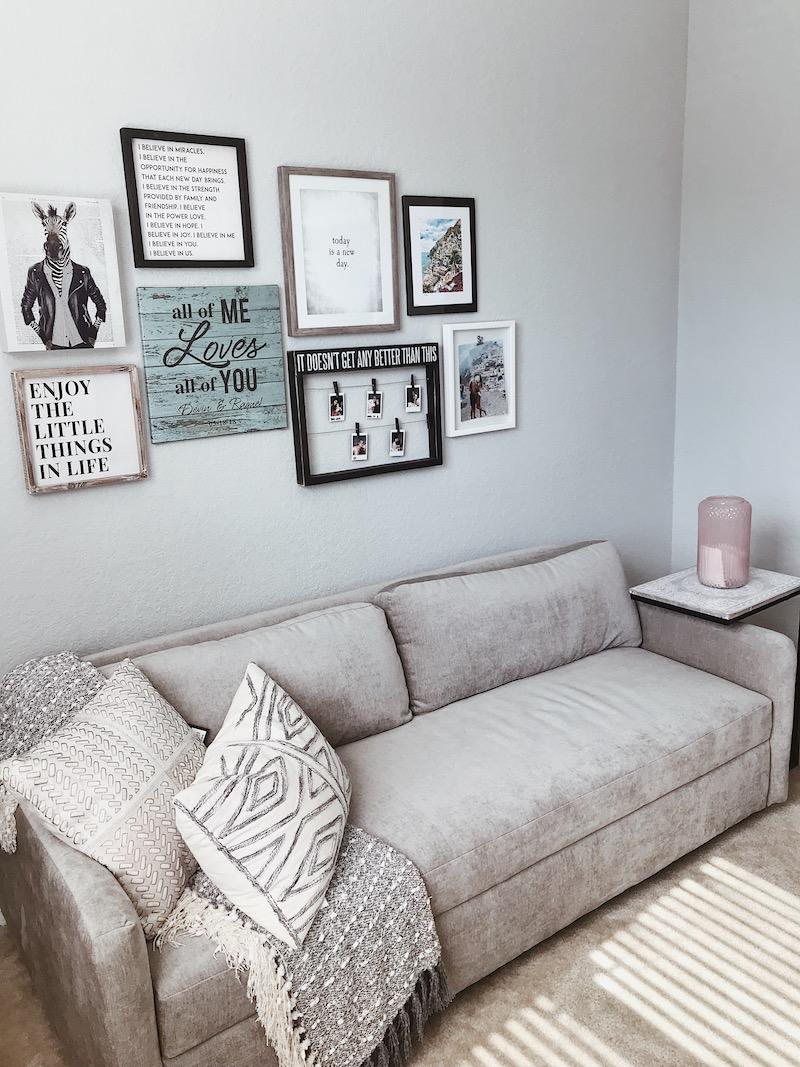
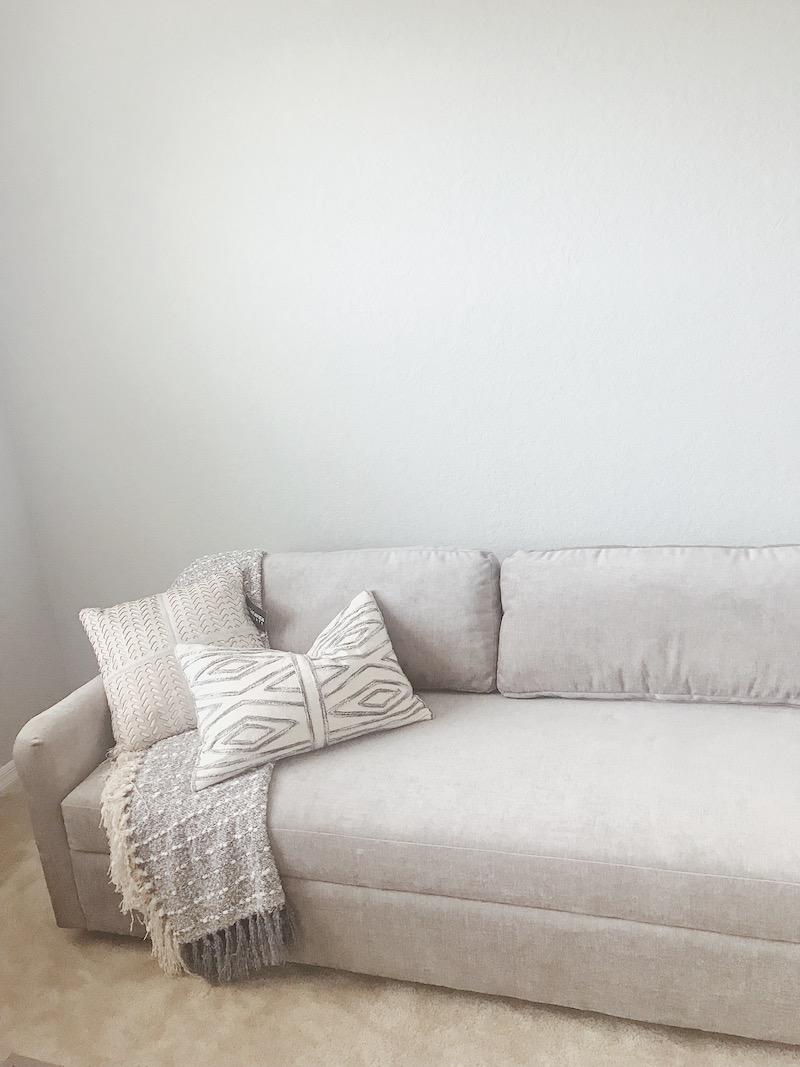
Before Photos
![]()

Our guest room is the last room in the house for us to decorate (minus still having to do the floors and bathrooms). I’ve had a vision for this room since we moved in and having a gallery wall was on the list. It’s not as easy as you would think to find prints, photos, and frames to mix together that cohesively flows. After multiple trips to Home Goods I finally found some cute photos that would mix with what I already had. I knew I wanted to keep the colors pretty neutral with black, wood, and white frames.
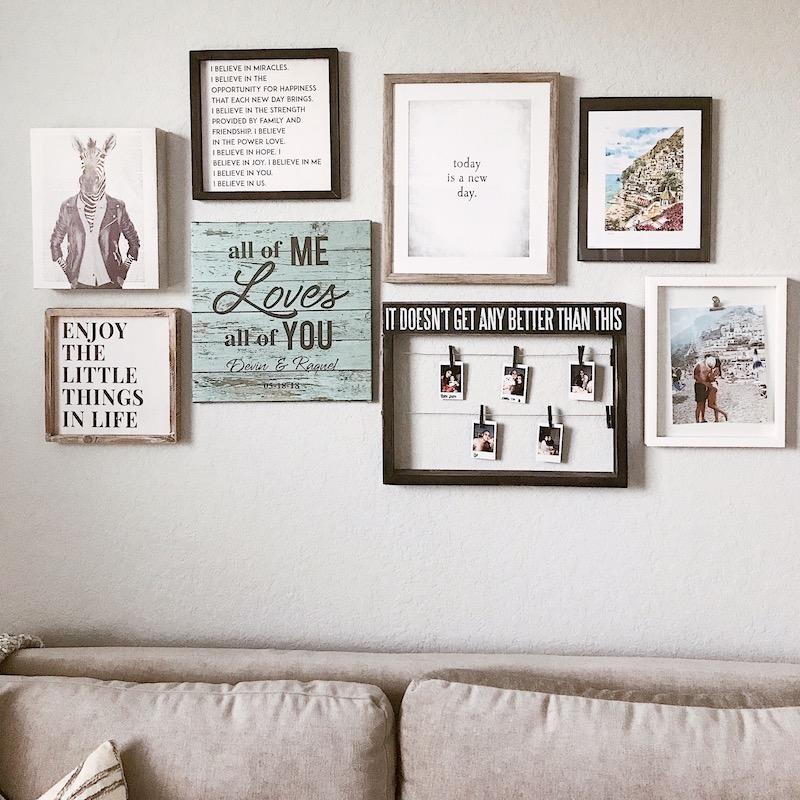
While we were in Positano, we bought a print for the gallery wall so we could remember our honeymoon. I also printed out a picture of us in Positano to put as a pair on the wall. My brother gifted me the polaroid hanger which I thought would be a nice touch of sentimental moments. One of our house warming gifts was the canvas with the All Of Me lyrics that played before Devin proposed and our wedding date. I was able to mix in some sayings and quotes that I find inspirational and a pretty cool print of a zebra in a leather jacket that is definitely my favorite.
How to Hang a Gallery Wall
Lay It Out- After you find the pictures you want to have up for your gallery wall, the first step is to lay them out and play with how you want them to be set up. I laid out all my photos in front of the couch so I had an idea of how far I could place them apart because I wanted it to be the same length of the couch.
Pinterest- There are so many different ways you can layout your wall, so I went on Pinterest and found some layouts to play with until I found one that I liked. If you are really visual and need to see it mapped out, you can take newspaper and tape it to the wall until you find something that you like. Tape is obviously easier to take off a wall than drilling in holes and deciding once it’s up that you hate the layout. I was able to visualize it enough on the floor to not tape paper to the wall, but I know it could be super helpful for some people. Have fun with it and get creative!
Clean Lines- I think it’s important to remember that even though it’s a gallery wall, that there should be clean lines in between the photos. Measure out the spaces in between each photo and use a lever to make sure they are straight.
Hang It Up- Once you are confident in your layout and measurements, you can hammer some nails into the wall and enjoy your new masterpiece.
Build It- I think gallery walls are great because they show personality and they are buildable. You can always add on to a gallery wall and build it up as much as you want. For now, I want to get two more pictures, one on each side, and then I think I’ll be done with it for a little while.
After Photos
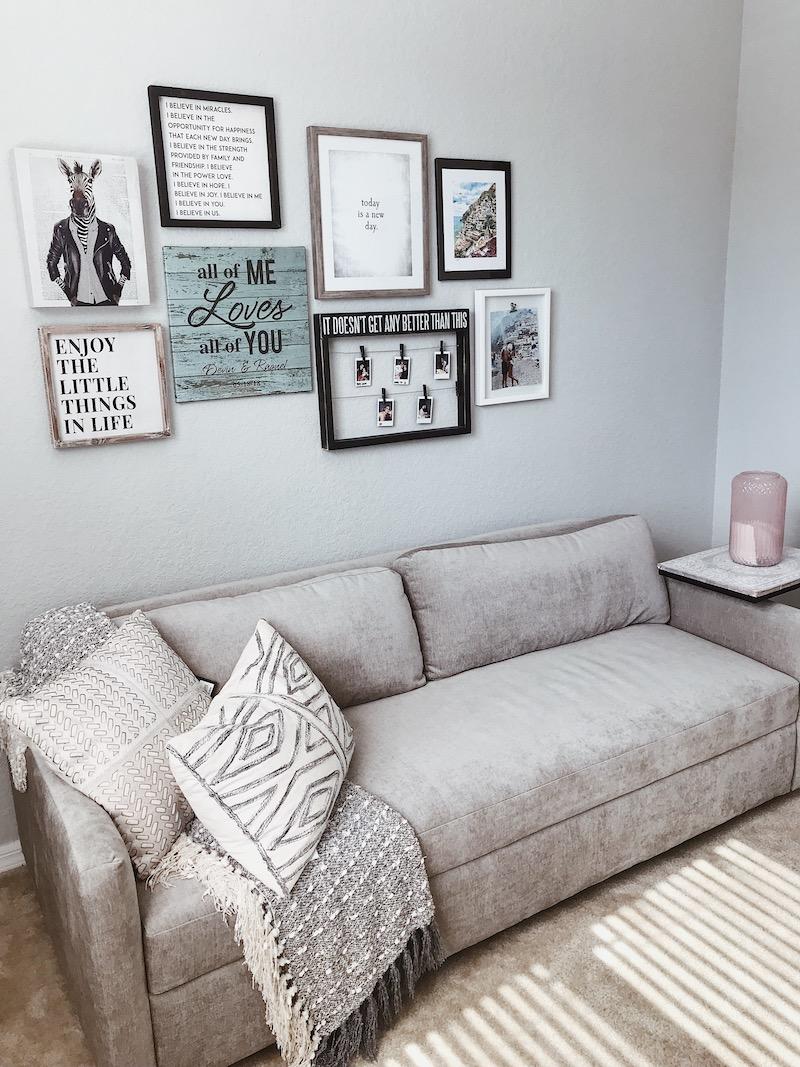
The guest room is easily becoming my favorite room in our house! The gallery wall just makes me SOOO happy and I can’t wait to build it up a little bit more 🙂 We still aren’t done with the guest room so stay tuned for some more blog posts on the progress.
xx Raquel